


How do I make a bulk purchase?
There are two ways you can purchase a bulk order. This guide will walk you through what those two options are and how to complete your bulk purchase.
Option 1: Primary Admin Account
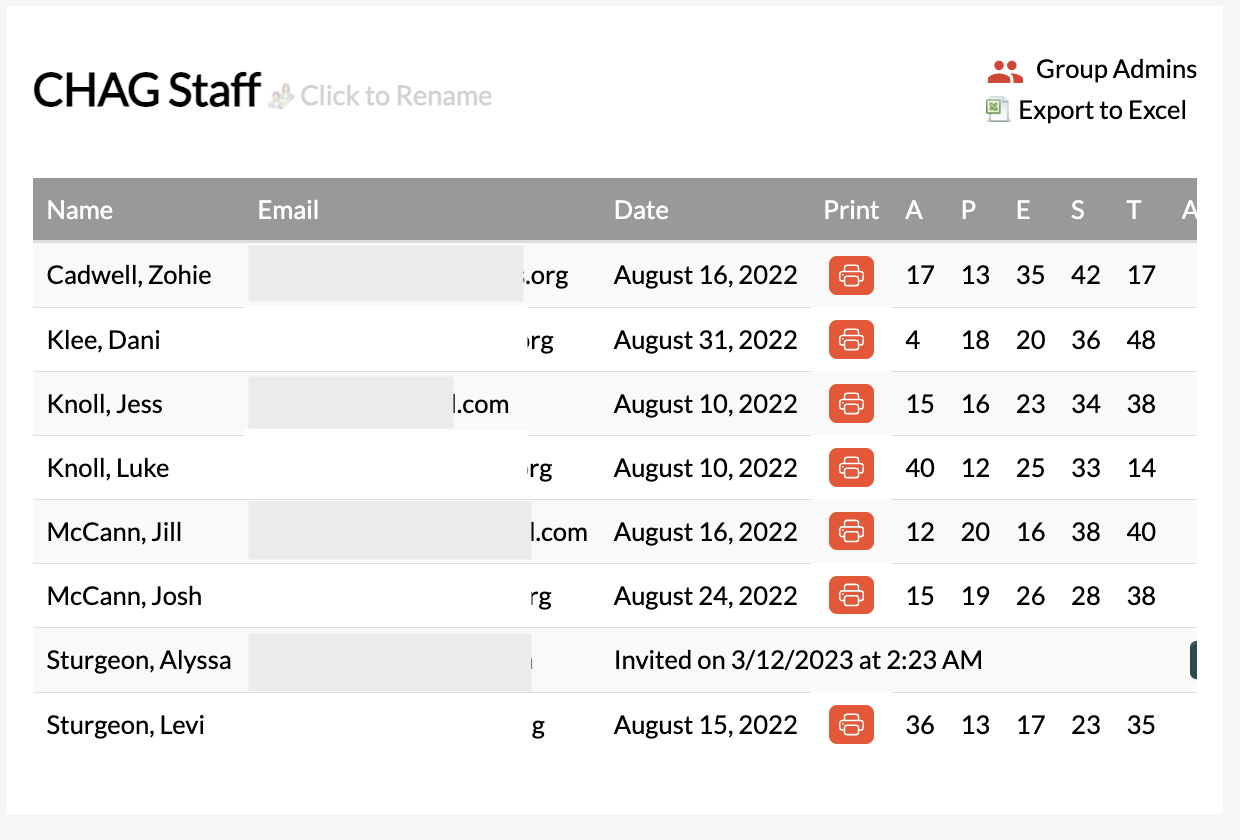
Option 1 allows you to see everyone you invite along with their APEST results in a single convenient location. A bulk purchase is made under a single account. Then from that account dashboard.
View 'Option 1 Instructions' below for a step by step on how to action this bulk purchase.
Option 2: Create a custom Checkout Code
If you don't have the need to see the results of those you invite, then a custom checkout code might be a great fit! We often see this used at conferences or for students in classroom settings.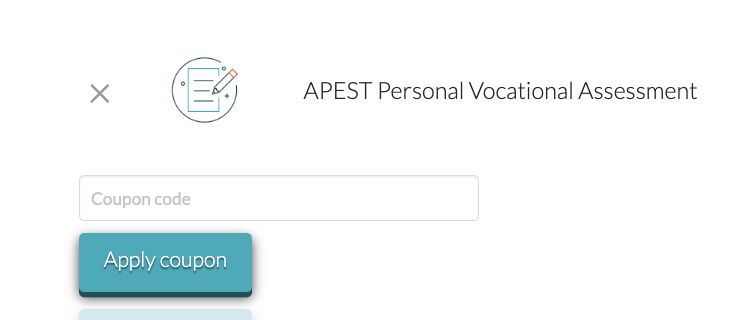
Option 1 Instructions
Step 1 - A bulk discount is listed on the APEST Personal Assessment page and is automatically applied at checkout. Click the button to go to the product page. Add the number of tests you desire to purchase then click 'Add to Cart'.
Go to APEST Assessment Product Page
Step 2 - Once you have made the purchase you will receive an Invoice email and an Invite email.
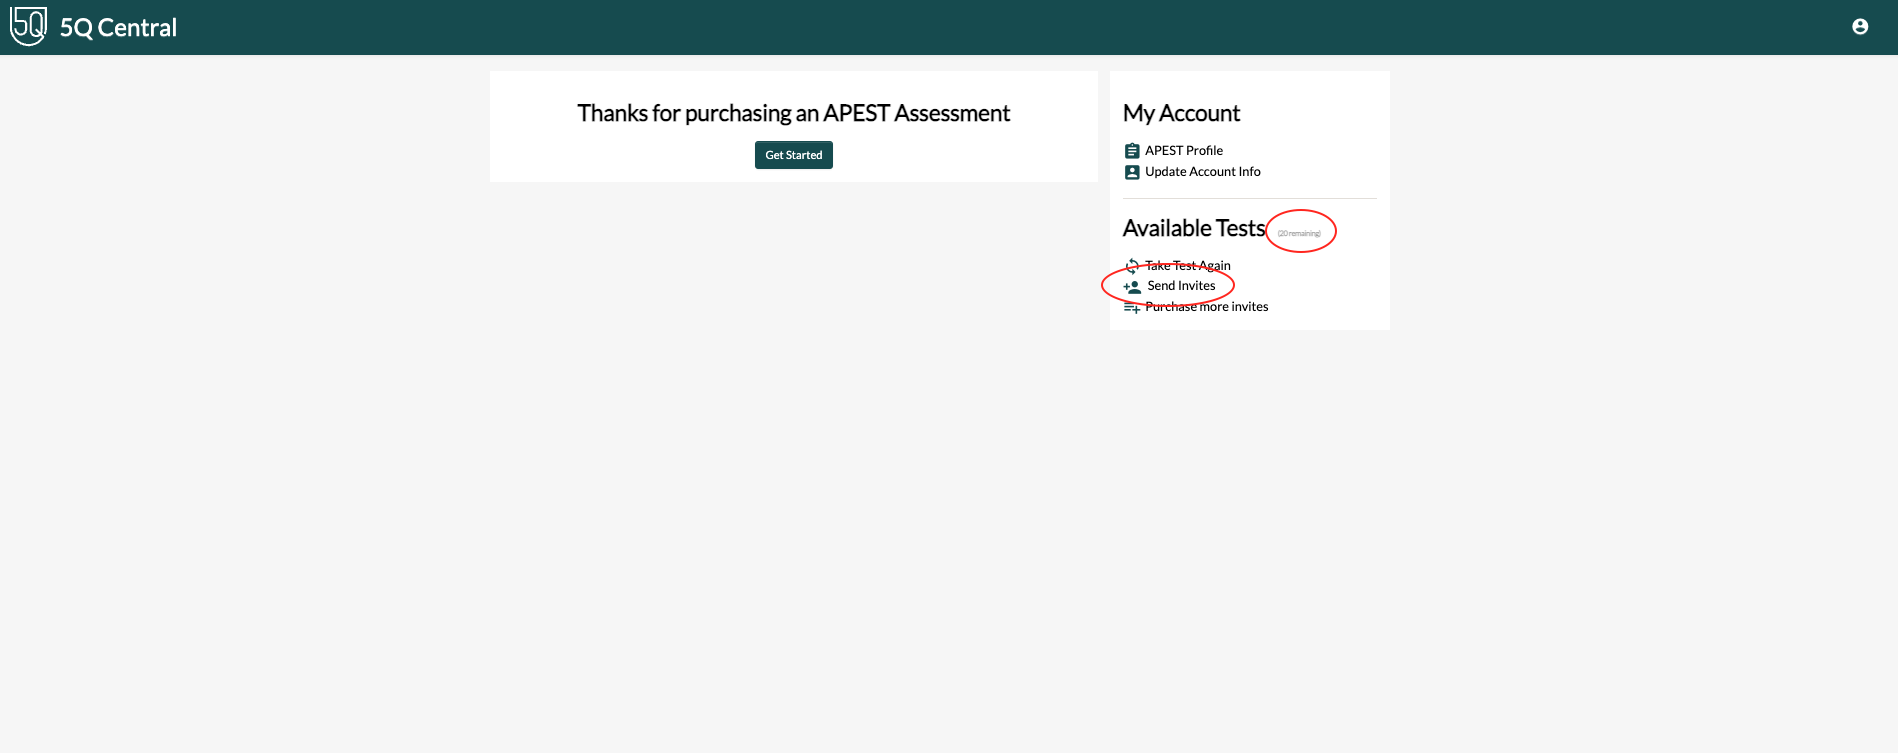
The Invite email will walk you through creating your APEST Profile account on our APEST Test platform. If you purchase more than one APEST Personal Vocational Test they will show up in your profile as "Available Tests" or "Invites".
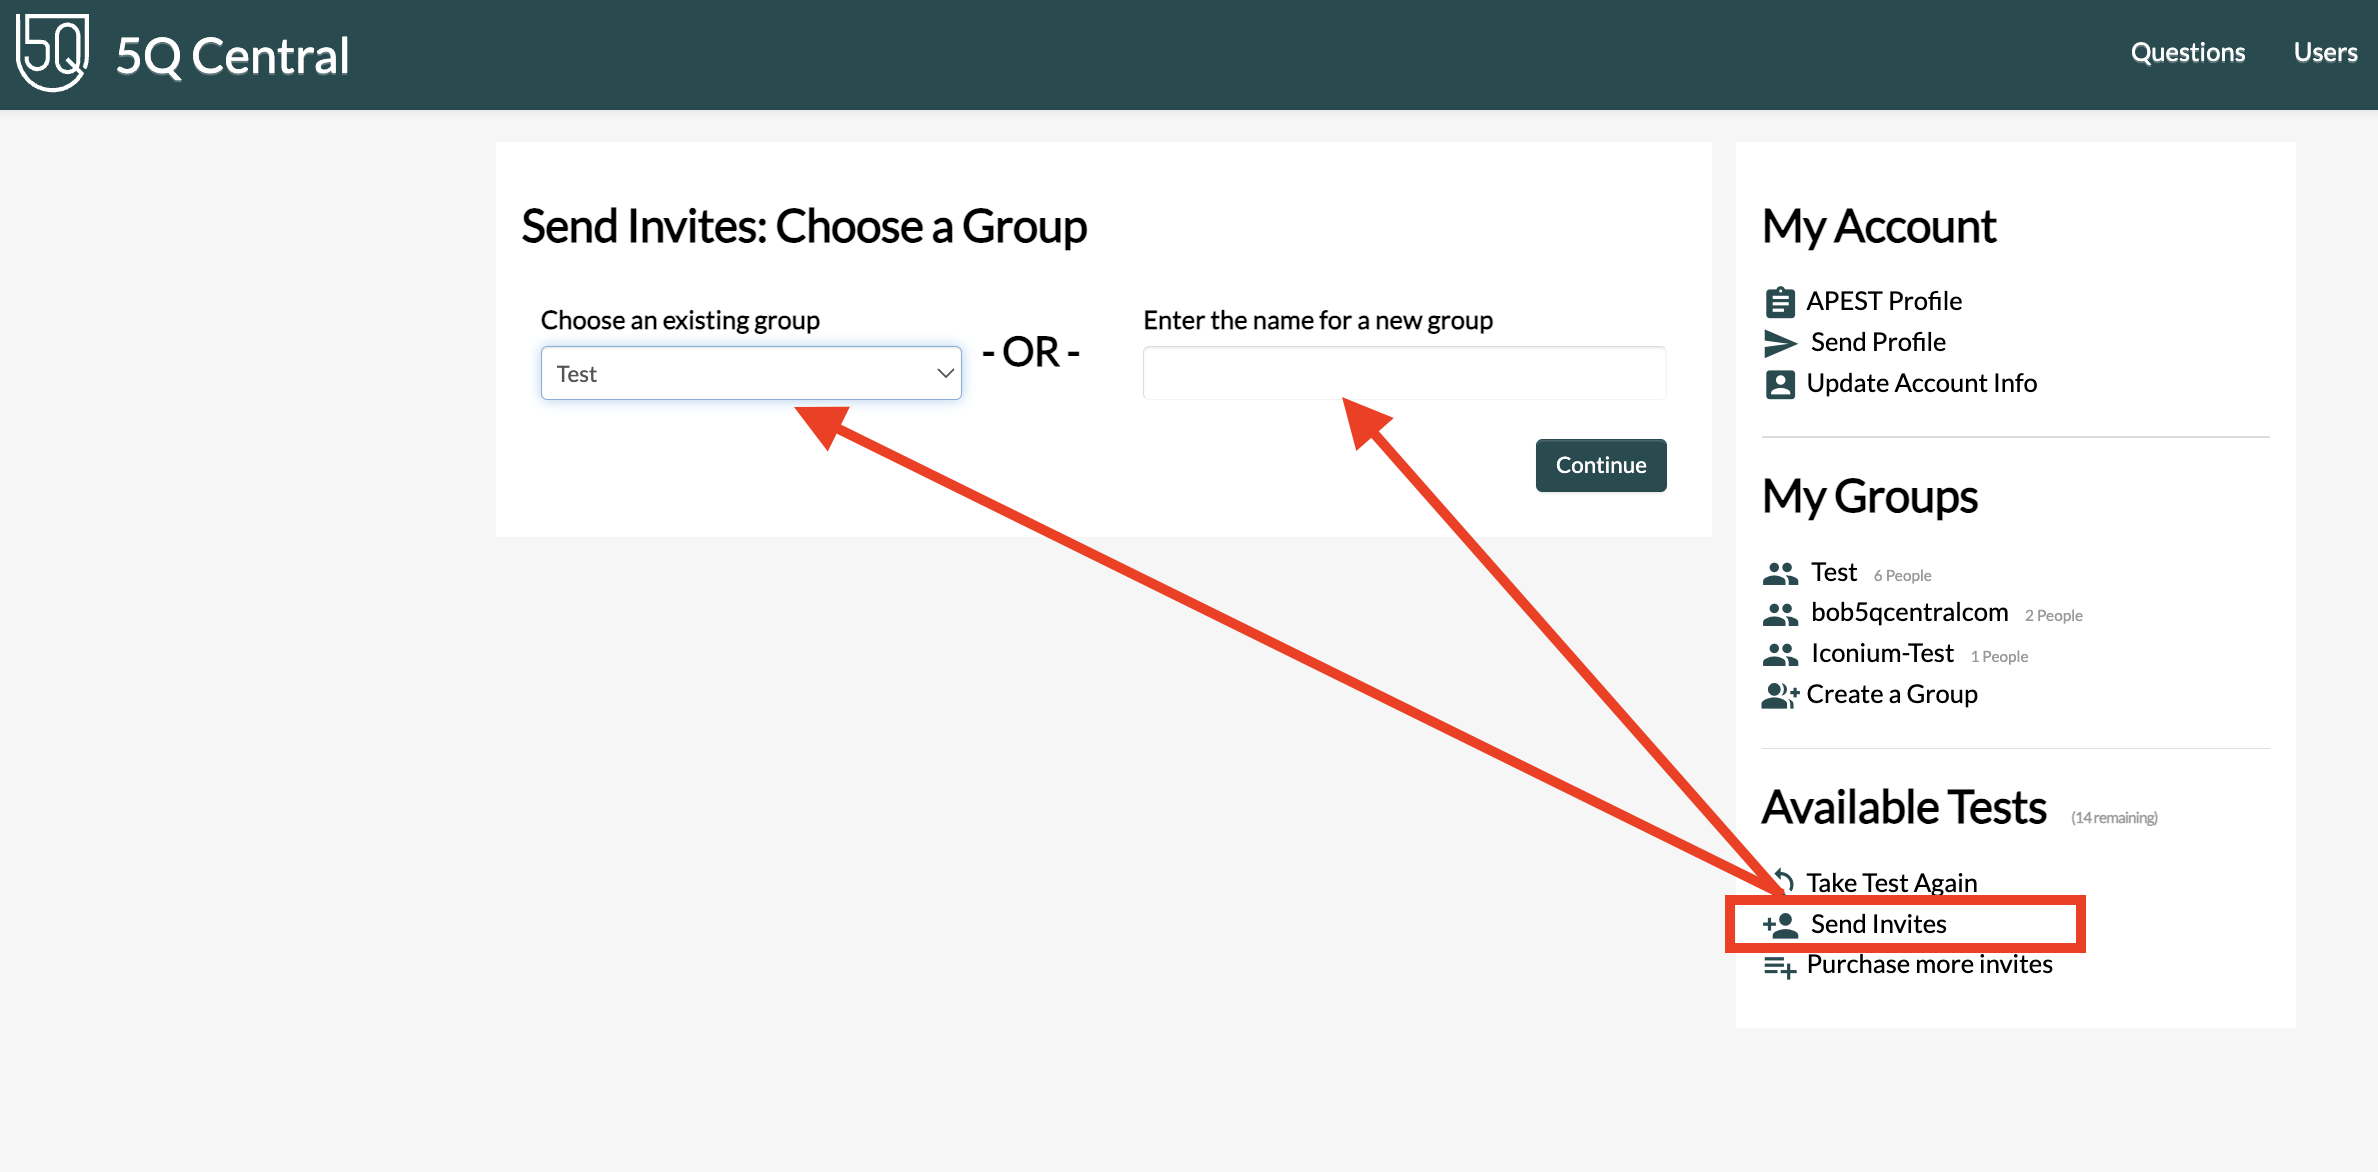
To get back to your Account Dashboard go to: https://tests.5qcentral.com and click on the "Send Invites" link on the right hand menu. The system will walk you through creating a group and then putting in email addresses to those you want to send the test to.
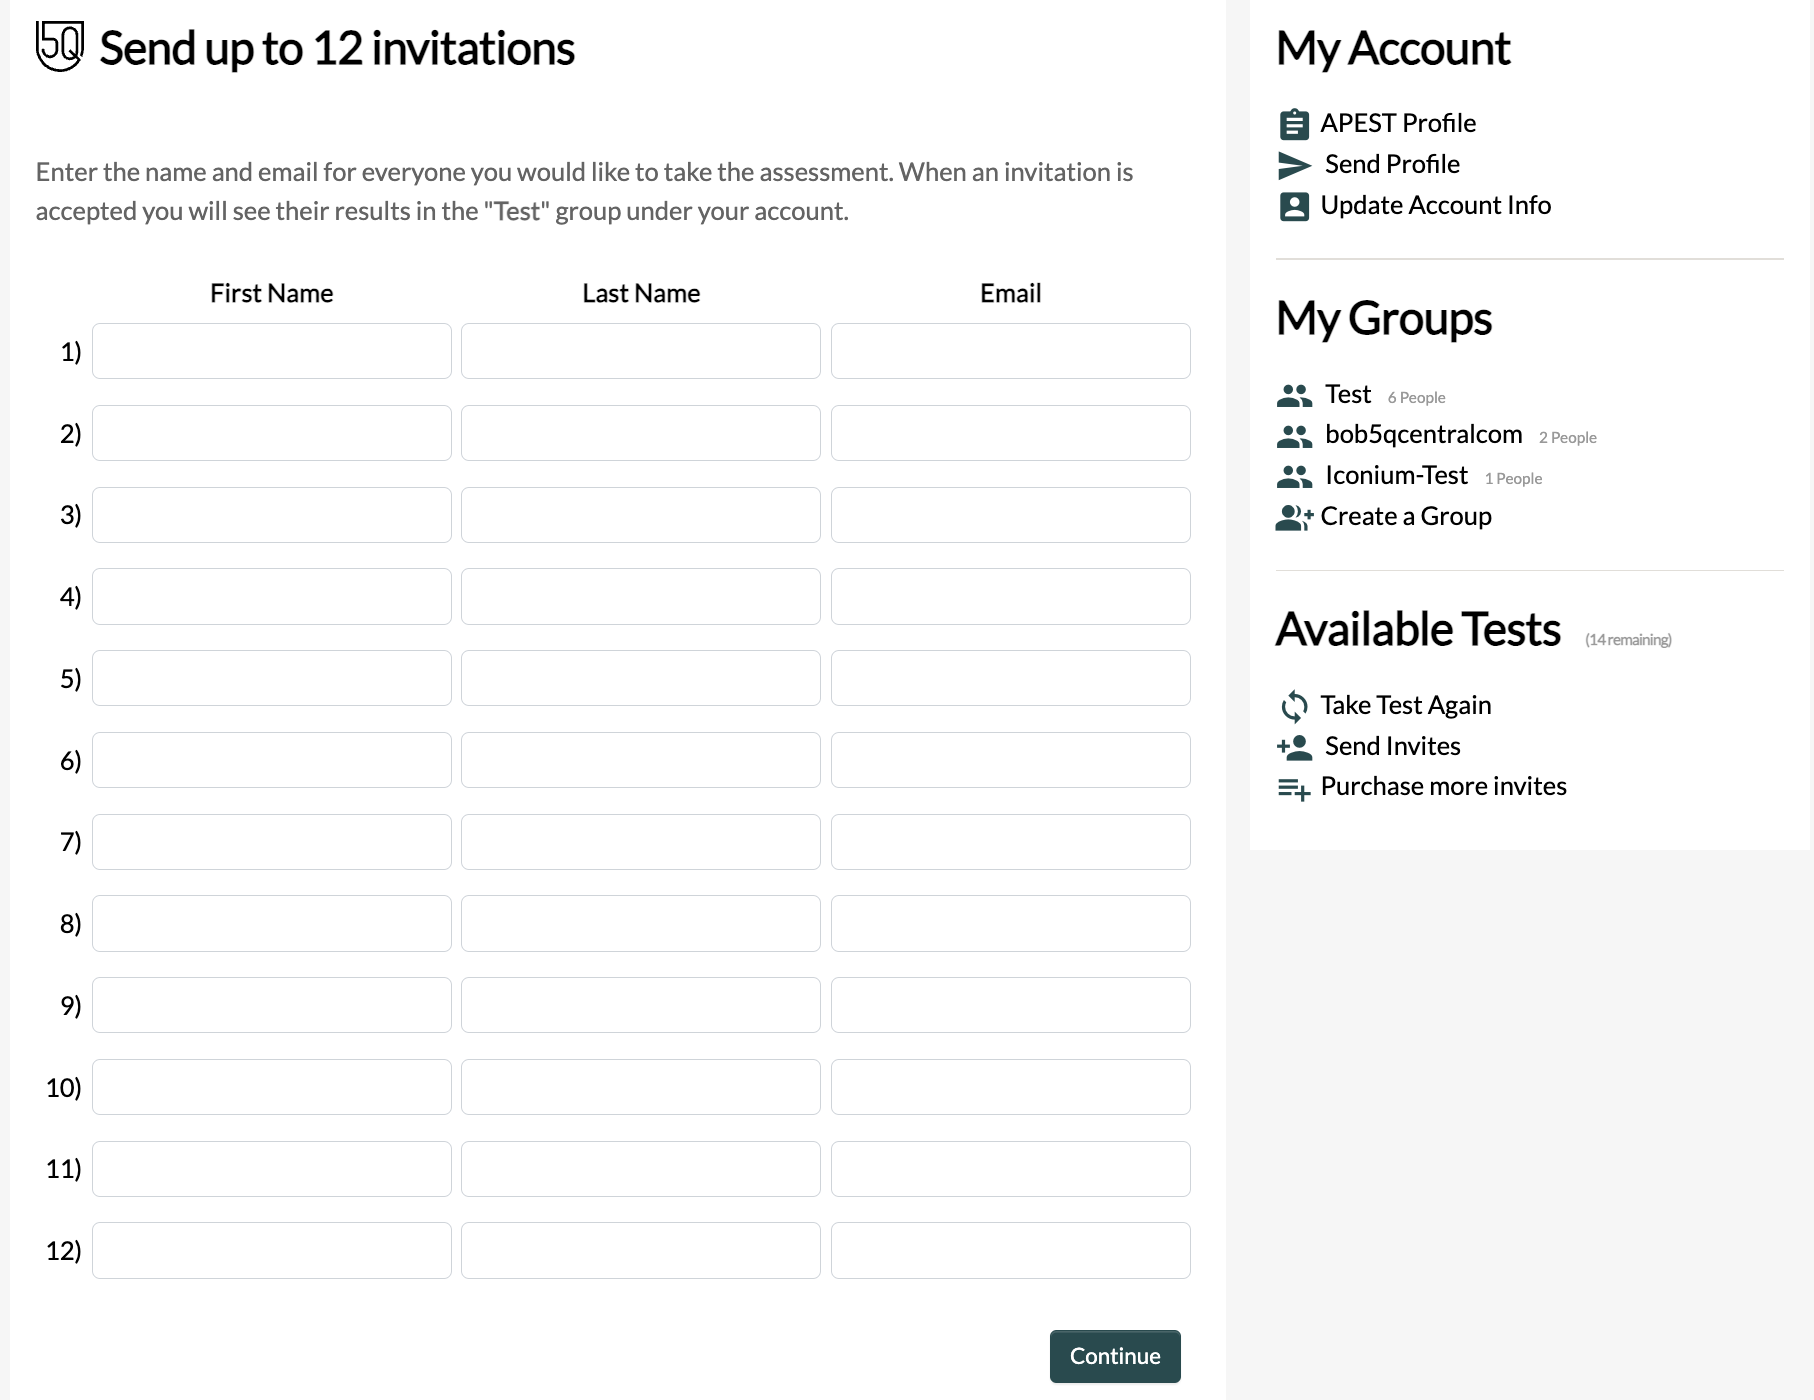
Step 3 - When you hit 'Send Invites' you will be asked to create a Group (or choose from an existing group if you've already done this before). You can change the name of a group in the future... but you cannot delete a group!
Step 4 - Add the information for the individuals you would like to invite to take the test and to be part of your group. Please note that you cannot move people between groups. So to add someone to this group you have to send them an invitation through this admin panel.